Life in the fast lane
 I finally bit the bullet and got an EV-DO card from Verizon Wireless. I use the term EV-DO exclusively thanks to covering this stuff every day for years, but the sales staff call it BroadbandAccess because that’s what VZW’s marketing team came up with. The flacks at the store looked at me a bit cockeyed when I asked for an EV-DO card, and even more so when I said that I use a Mac. But long story short, I now have broadband (130K/s) internet access anywhere I’m at.
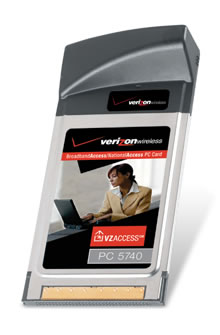
I got the Audiovox PC5740 which doesn’t expressly have Mac support, but that doesn’t mean it won’t work. The PC5740 that I got has a much better antenna than the Kyocera KPC650 which has native support with OS X. I know people with both cards and it’s definitely worth the trouble to get the PC5740 working. Both cards install easily on Windows. I followed the directions here and they worked fairly well. The only snag was that the card needs to be activated in a Windows laptop which might be a deal killer if you have no friends.
I had to search around quite a bit to be able to find the directions for free, several shops seem to sell a Mac “BroadbandAccess” support package. It’s completely unnecessary. You don’t need any extra software to connect. I just open Internet connect and hit one key. Now the question is what will I do when I upgrade to a MacBook Pro?
In case the site that I got my directions from goes away, I have an abridged set of the instructions below. Remember you need to activate your card before this will work.
Setup Remove the card if it’s in your computer, and make sure you have administrator access to your PowerBook. These instructions assume you have Mac OS X 10.4 Tiger installed.
Open Terminal.app and enter the following commands (one at a time):
cd /System/Library/Extensions/IOSerialFamily.kext/Contents/PlugIns/

sudo pico AppleVerizonSupport.kext/Contents/Info.plist
You should see a XML based file, scroll down and look for
Now we’ll do the same exact set of changes on another file, use the following command to open it in pico:
sudo pico AppleVerizonSupportKicker.kext/Contents/Info.plist
Change the idVender and idProduct values, just like before.
The hard part is over, we just have to flush some caches and then we’re good to go.
sudo rm /System/Library/Extensions.kextcache

sudo kextcache -k /System/Library/Extensions
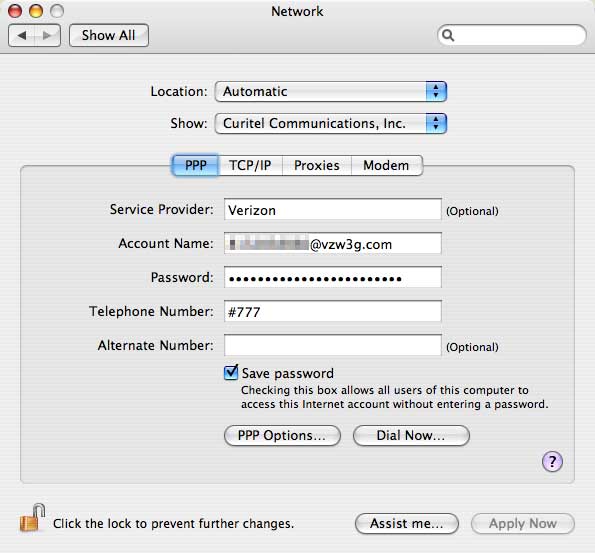
Restart your PowerBook and then insert the PC5740 card. You should see a pop-up that “A new port has been detected”. In your Network System Preferences we’ll need to tell OS X to control the card correctly. It should pop up as Curitel Communications, and the settings you’ll need are as follows:
- Service Provider – Verizon
- Account Name – xxxxxxxxxx@vzw3g.com (even though it’s not a phone, each card has a phone number. Put it in place of the Xs)
- Password – vzw
- Telephone Number – #777
- Verify the Verizon (PC 5220) modem script is selected
- Verify wait for dialtone is not checked
- Verify that under PPP options, “Disconnect if idle” is not checked
Here is a screenshot of my setup, yours should look similar. Hit apply now and open Internet Connect to start your own life in the fast lane.